Do Succulents Need Repotting? Tips for Small Containers
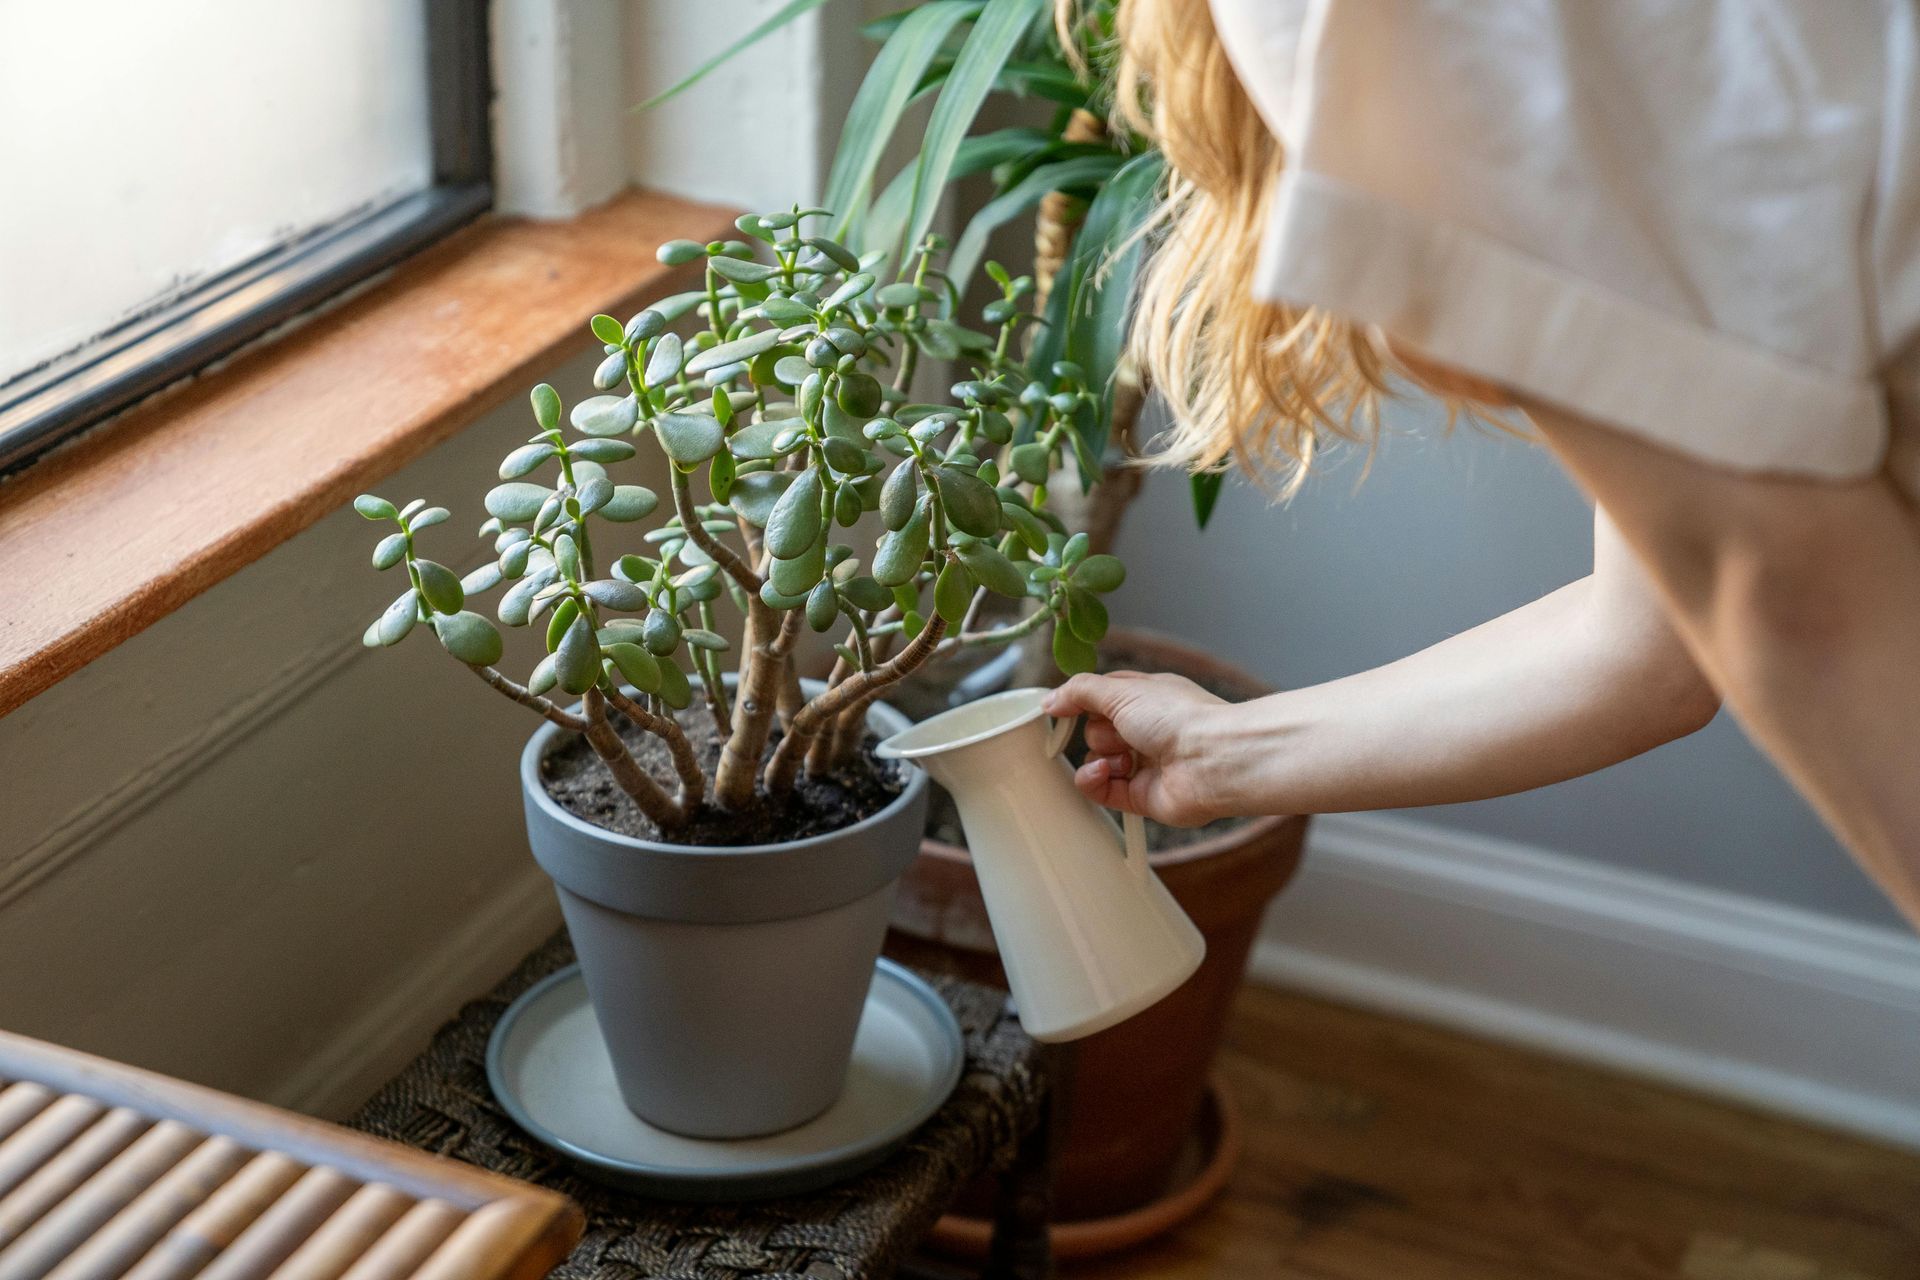
It’s a commonly held misconception that succulents do best when packed as tightly as possible into those cute, tiny pots that look great on a window ledge. It’s a myth, though. While these hardy plants can tolerate a bit of crowding better than most houseplants, they have their limits. Succulents are not immune to overcrowding, and the right growing environment is essential to keep them happy and healthy.
So, do succulents need to be repotted? Yes, and knowing when to repot can make a big difference in the plant’s overall health. In this post, we’ll share the most common signs a succulent is ready for a new pot and offer a step-by-step guide to repotting so you can ensure a stress-free transition for your plant. We’ll also cover some of the nuances of repotting in small containers, where a little more consideration for each square inch of soil and root space matters.
Succulents are slow growers by nature, and they’re more tolerant of cramped quarters for longer periods than most other houseplants. That said, they still benefit from the extra nutrients, less-compacted, fresher soil, and increased growing space that repotting can provide.
Identifying When to Repot Your Succulent
Timing matters when it comes to repotting. Repot too often, and you risk putting undue stress on the plant. Repot too infrequently, and you might end up with a succulent that becomes stagnant and needs better growing conditions. The key is to watch for common signs that indicate it is time to repot, so you can time it well and give your plant the boost it needs.
Key Indicators that a Succulent Needs Repotting
As mentioned, there are several signs that indicate it’s time to repot a succulent.
- Roots growing out of the drainage holes: When the succulent has outgrown the container, the roots may escape through the drainage holes at the bottom of the pot in search of more nutrients and moisture.
- The plant is overgrowing its pot: Visually, a succulent shouldn’t overpower its container. A good rule of thumb is that if the plant is wider than the pot’s opening, it’s time to upgrade. It’s also difficult to water or care for a plant when the container is completely outbalanced by the plant’s mass.
- Soil is compacted or depleted: Succulents thrive in loose, nutrient-rich soil. Over time, depleted or compacted soil can put the plant’s health at risk. If the soil is pulling away from the sides of the pot, or water drains through within seconds without being absorbed, it’s time to repot.
- Lack of growth: If the plant is in its active season (typically spring and summer) and there’s no visible growth, it may be stagnant due to root constriction.
- Watering challenges: Succulents need very little water to thrive. When the plant’s root-to-soil ratio is too high, there may not be enough soil to retain moisture properly. If your soil dries out within seconds after watering, your plant likely needs a larger home.
Optimal Timing for Repotting
Timing is also an important consideration. The best time to repot a succulent is at the beginning of its growing season, which for most succulents is early spring. Repotting too late in the active season, or too early in the dormant season, can make it harder for your plant to recover.
Avoid repotting a succulent during the dormant season (winter is a dormant period for many succulents). During dormancy, growth slows significantly, and roots recover more slowly after being disturbed. In other words, it can take much longer for your plant to bounce back. Unless you’re addressing an urgent issue like root rot or a pest infestation, it’s usually best to wait until the active season for your next repotting.
Essential Tools and Materials for Small Containers
Repotting in small containers is fairly straightforward, but pay close attention to drainage and soil type. Otherwise, moisture can build up and lead to problems later.
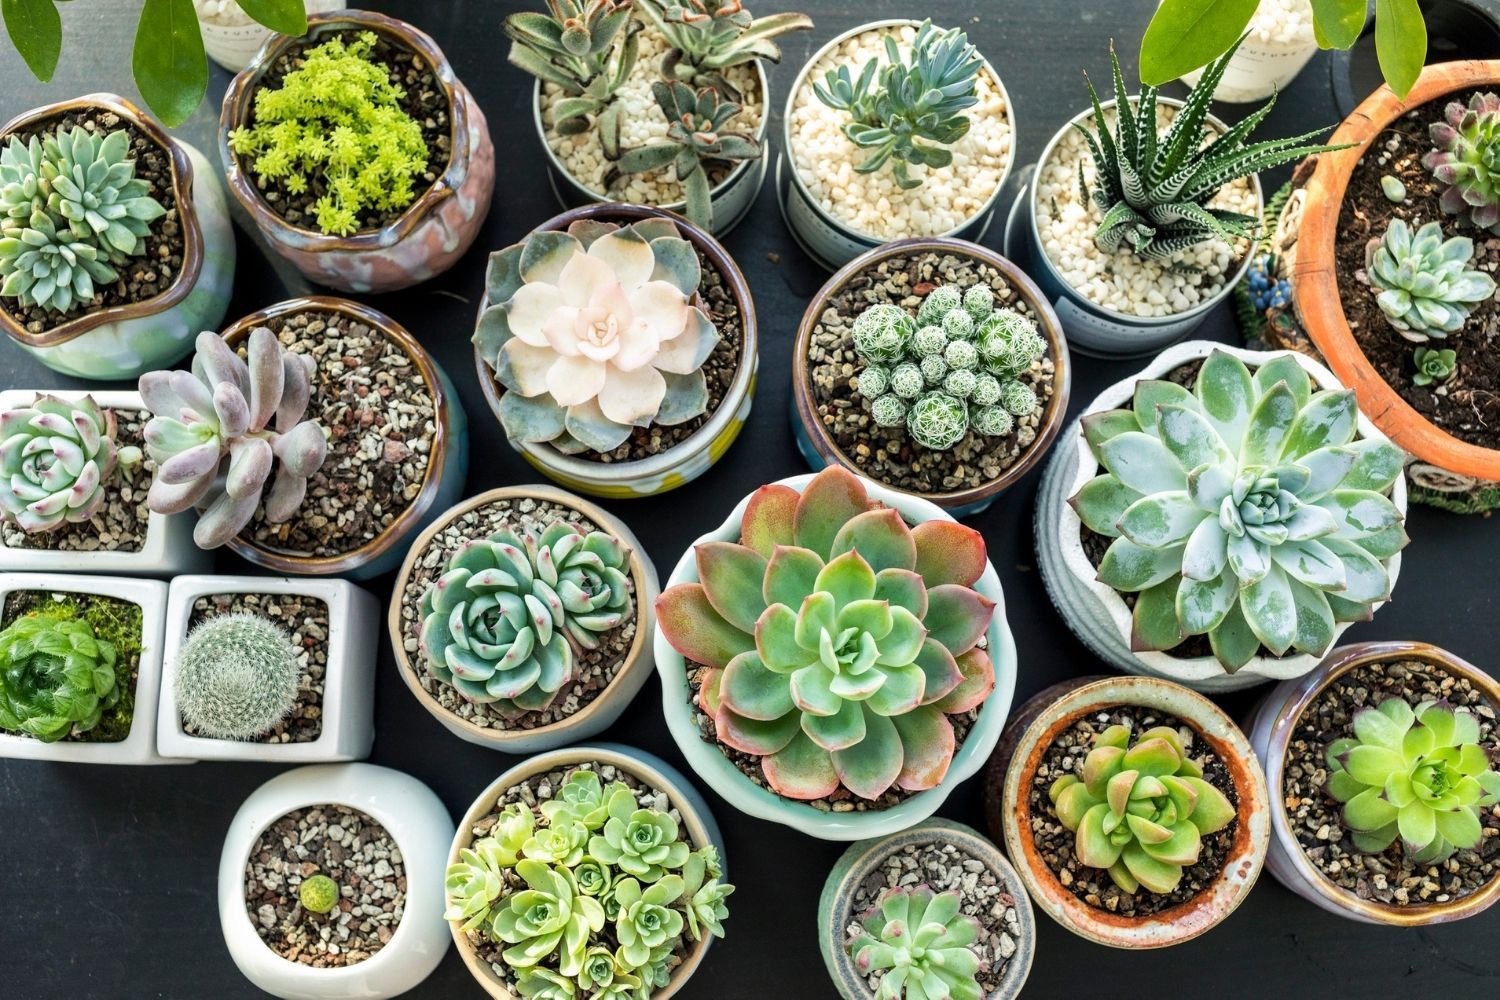
Choosing the Right Container
- Container size: Choose a container that is only 1 to 2 inches larger than the current one. A common mistake is choosing a container that’s too large. The more soil in the pot, the more moisture it can retain, which increases the risk of root rot.
- Drainage: Make sure the new container has a drainage hole. This is crucial for succulent health. In smaller pots, soil can stay wet longer than you’d expect, so drainage becomes even more important.
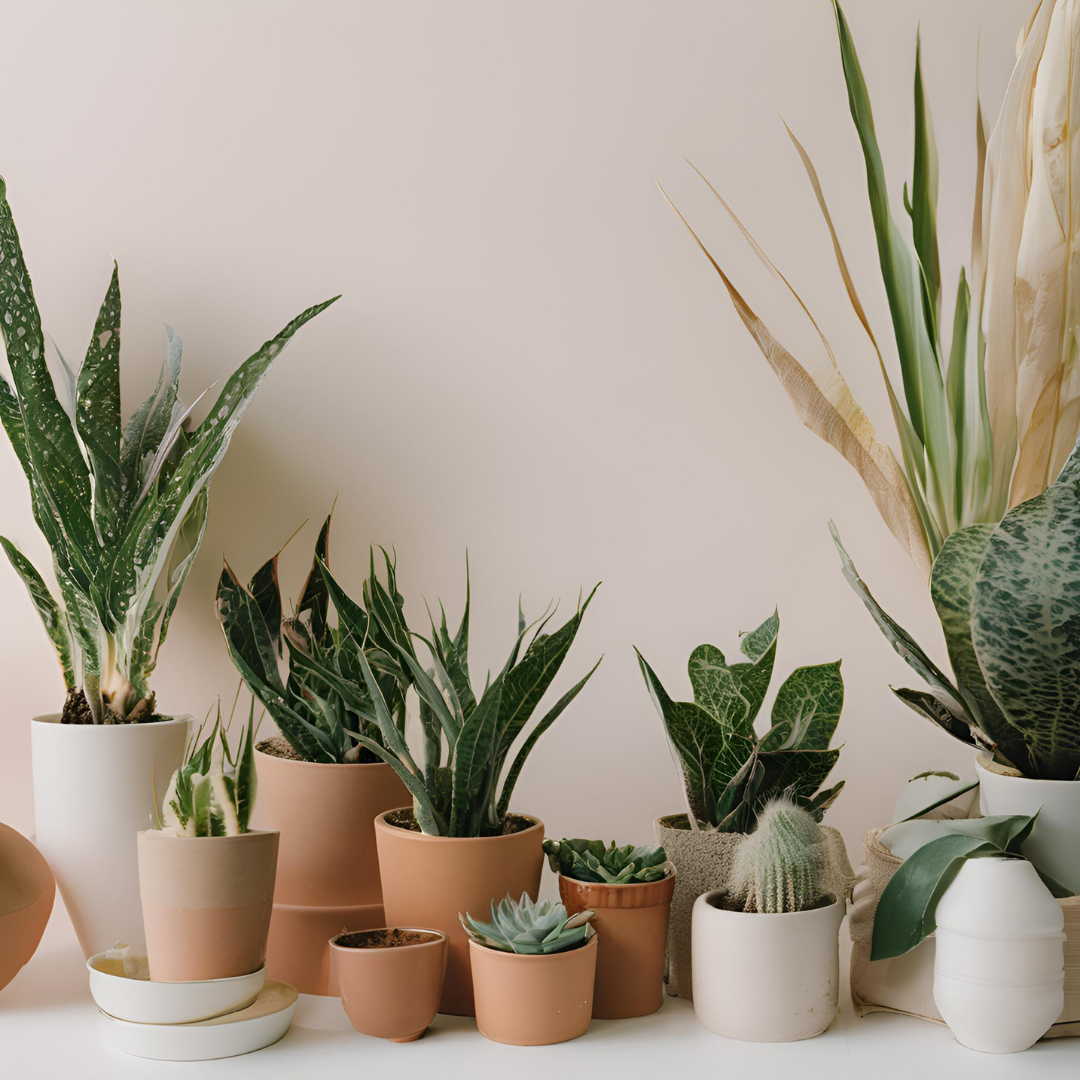
- Material: Porous materials like terracotta and unglazed ceramic are ideal. They allow air and moisture to move through the pot’s walls, which supports the faster drying succulents prefer.
Selecting the Appropriate Soil Mixture
Standard potting soil is usually too dense and holds too much water for succulents. Instead, use a succulent or cactus mix designed for fast drainage. If you don’t have premade succulent soil, make your own by combining equal parts regular potting soil and a gritty component like perlite, pumice, or coarse sand. The gritty material aerates the root ball and helps moisture move more freely.
Gathering Necessary Tools
- Small trowel or spoon (often easier in smaller pots)
- Soft brush (for cleaning roots)
- Sterile scissors or pruning shears (for trimming roots)
- Mesh tape or a piece of a coffee filter (to cover the drainage hole)
Step-by-Step Guide to Repotting in Small Containers
Once you’ve determined it’s time to repot, gathered your materials, and prepared the new container, follow these steps to keep the transition as smooth as possible for your plant.
Step 1: Gently Remove the Succulent
Removing a succulent from a smaller pot is a little different than removing one from a larger pot. In either case, be gentle and avoid pulling the plant by the stem, which can damage leaves or roots.
For smaller containers, tip the pot on its side, then gently tap the bottom or squeeze the sides (if it’s a flexible nursery pot) to loosen the root ball. If the plant is still stuck, carefully run a dull knife or chopstick around the inside edge of the pot to help release it.
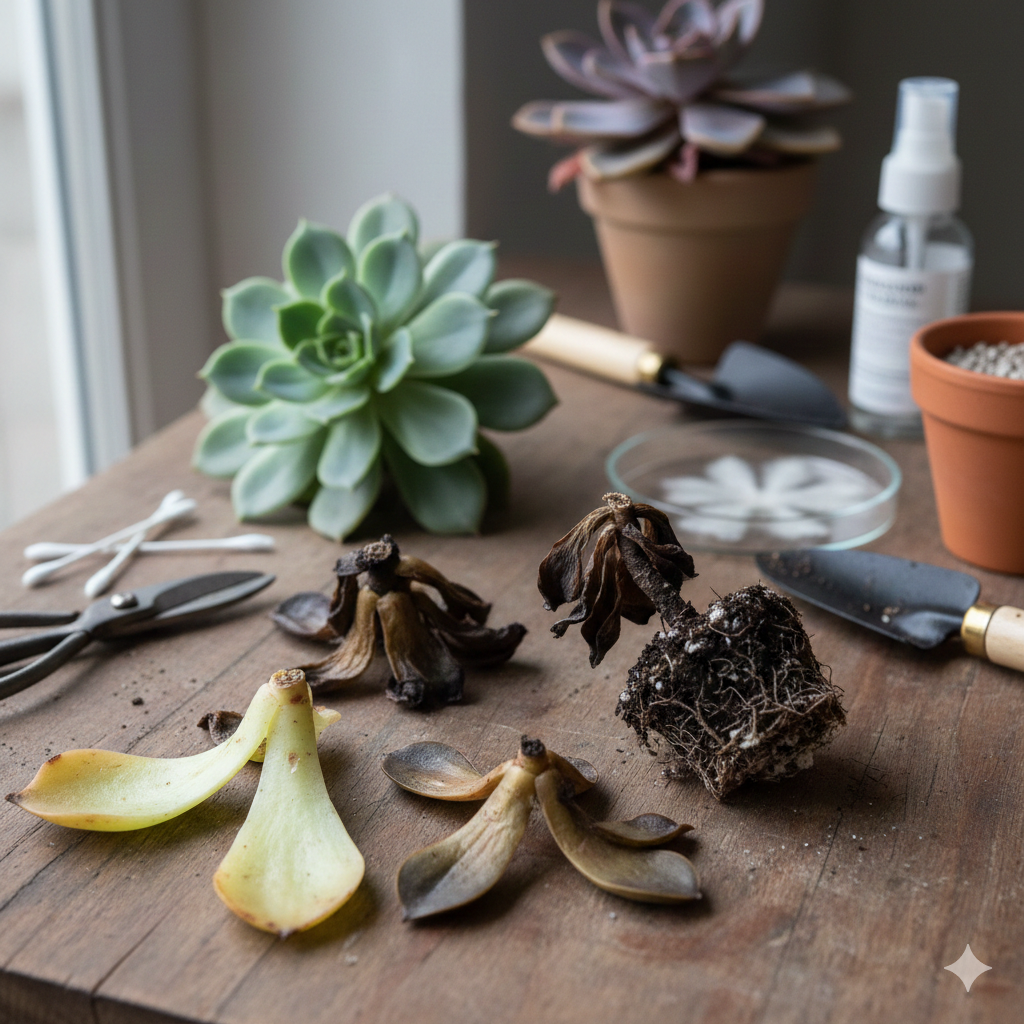
Step 2: Inspect and Clean the Roots
Use your fingers to gently loosen the root ball and remove as much of the old, compacted soil as possible. This is also a good time to inspect the plant. Look for black, mushy roots (a common sign of root rot) and check for pests. Use clean shears to trim away dead, dry, or rotten roots. Keep the roots that are firm and lighter in color, since those are typically the healthiest and most likely to support new growth.
Step 3: Prepare the New Pot
Cover the drainage hole with mesh tape, a piece of a coffee filter, or a shard of pottery. This helps prevent soil from washing out while still allowing excess water to drain. Add enough fresh succulent or cactus soil to fill about 1/3 of the container.
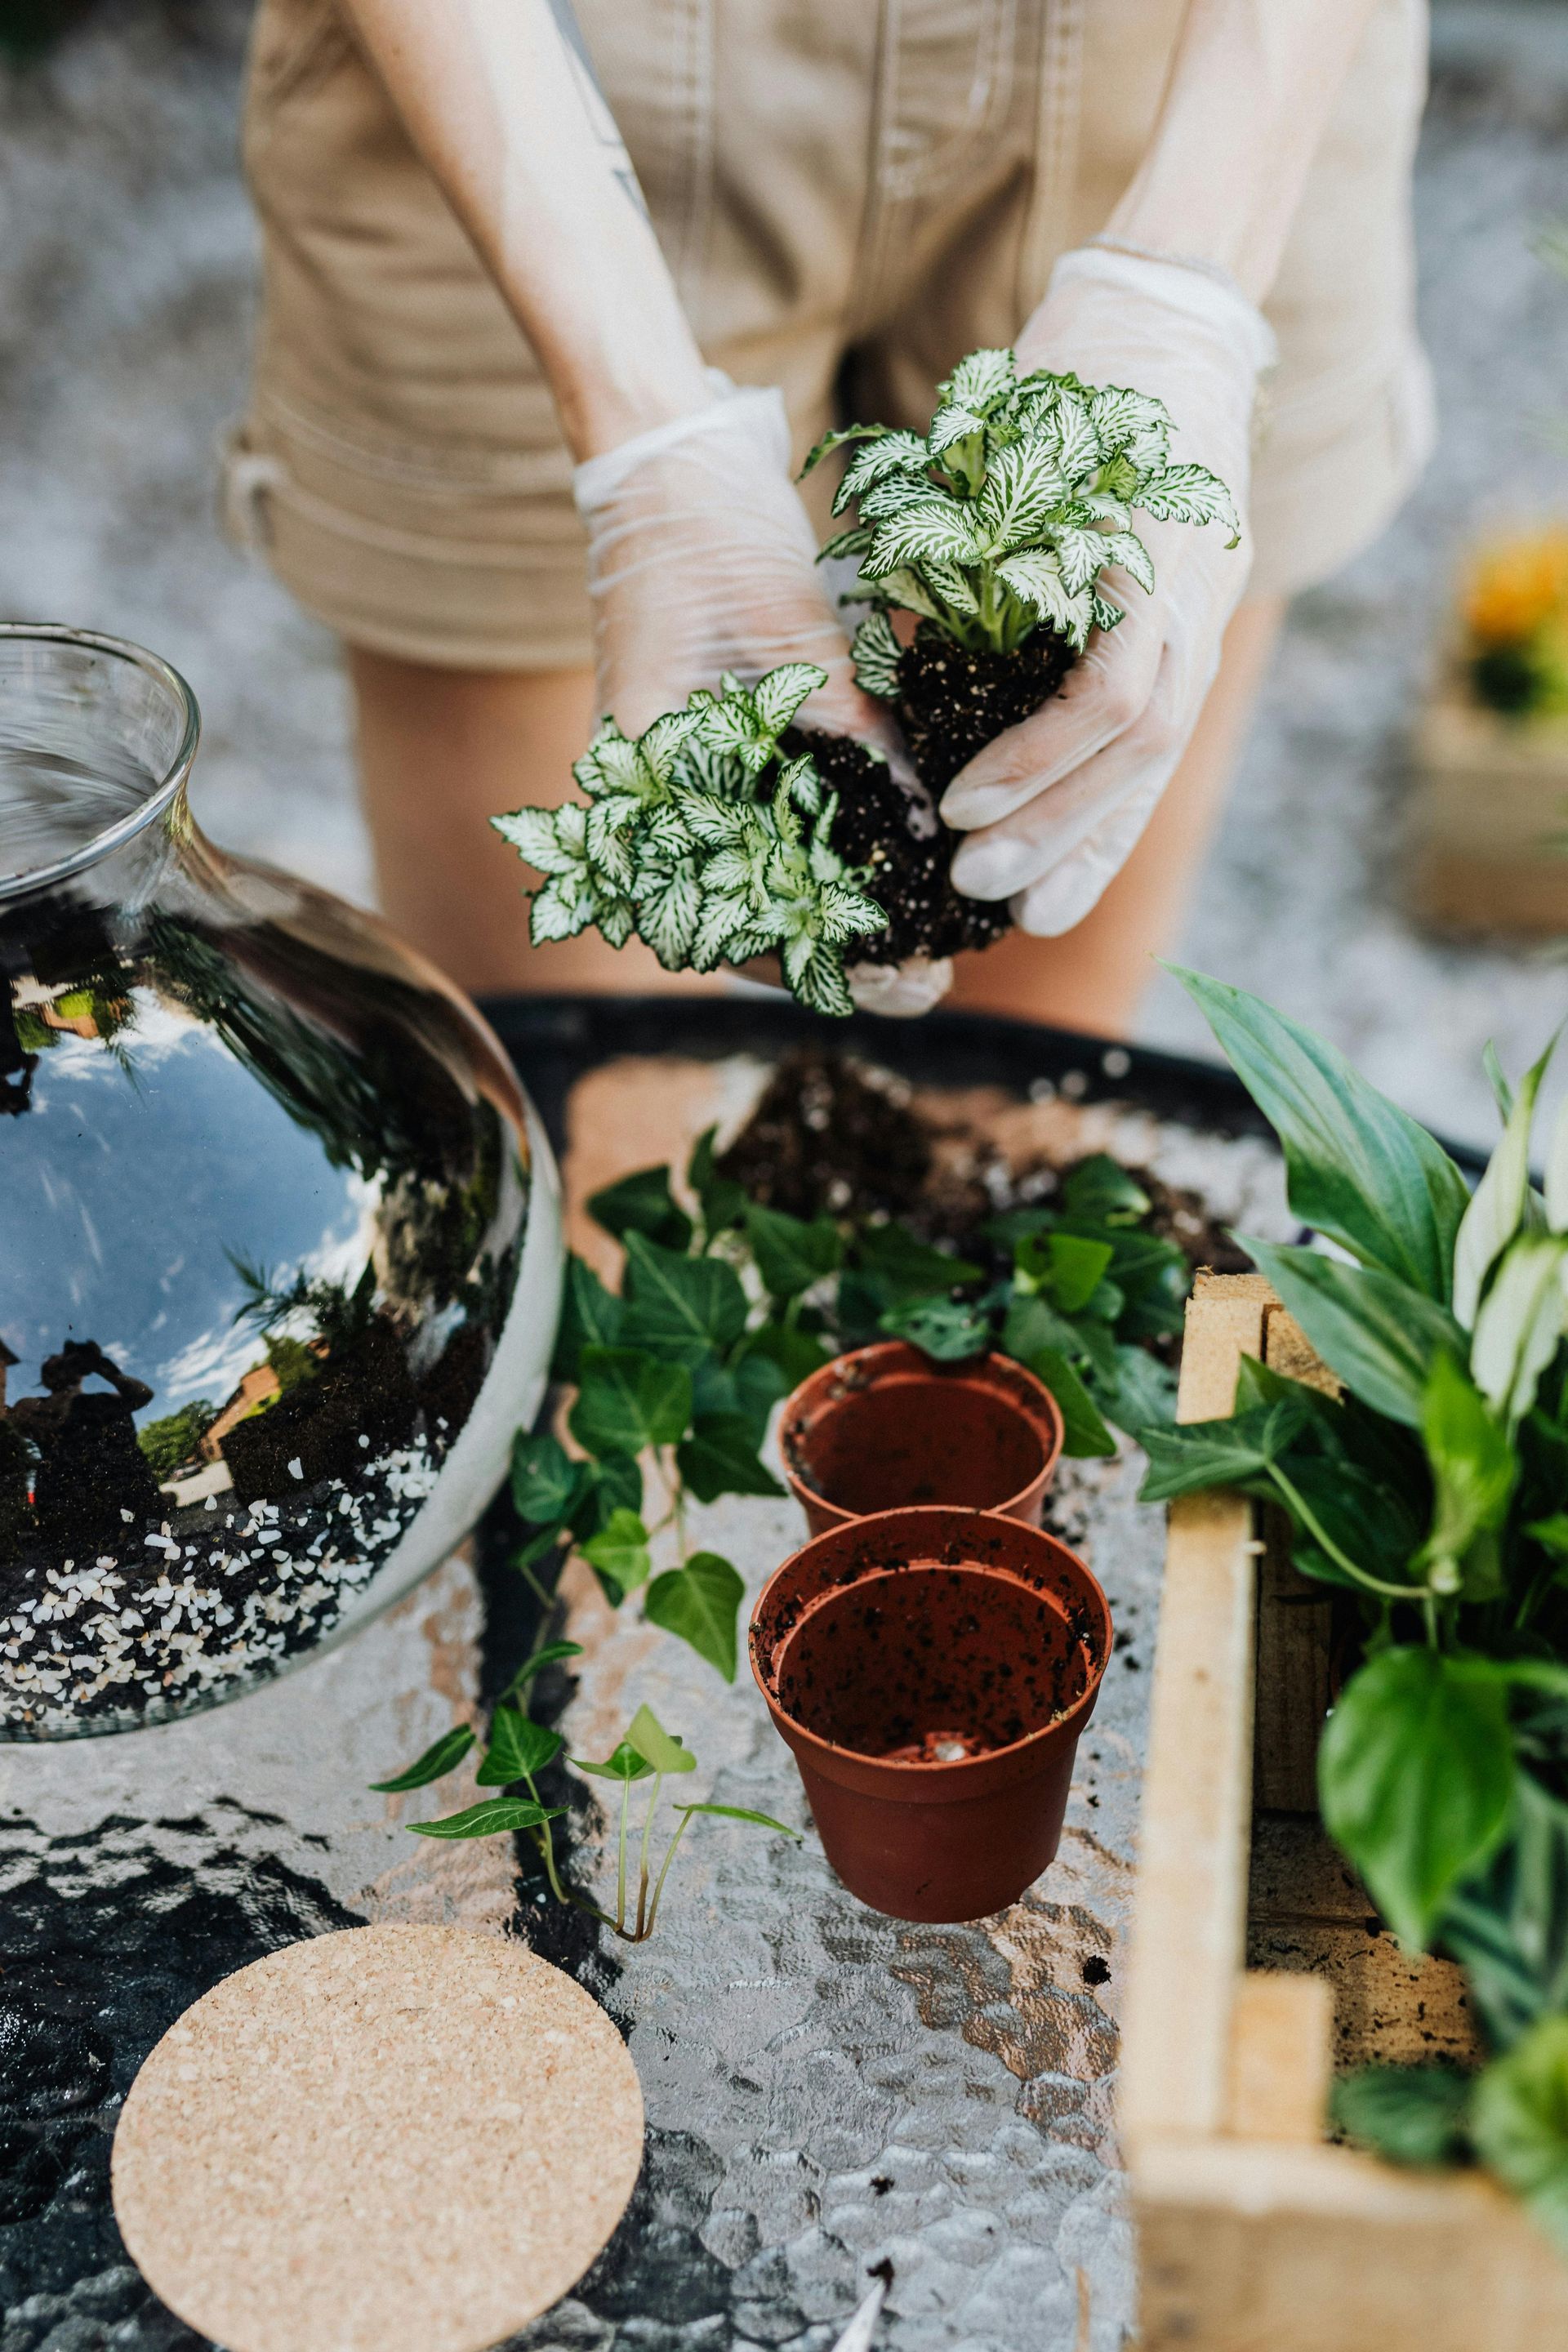
Step 4: Position and Pot the Succulent
Place the succulent in the center of the pot, making sure the base of the plant (where the stem meets the root ball) sits just below the rim. Hold the plant steady while you add fresh soil around the sides. Use a spoon or trowel to add soil, then gently tap the container on the table to settle it. Avoid packing the soil too tightly. Succulents do best with plenty of air space around their roots.
Step 5: Post-Repotting Care
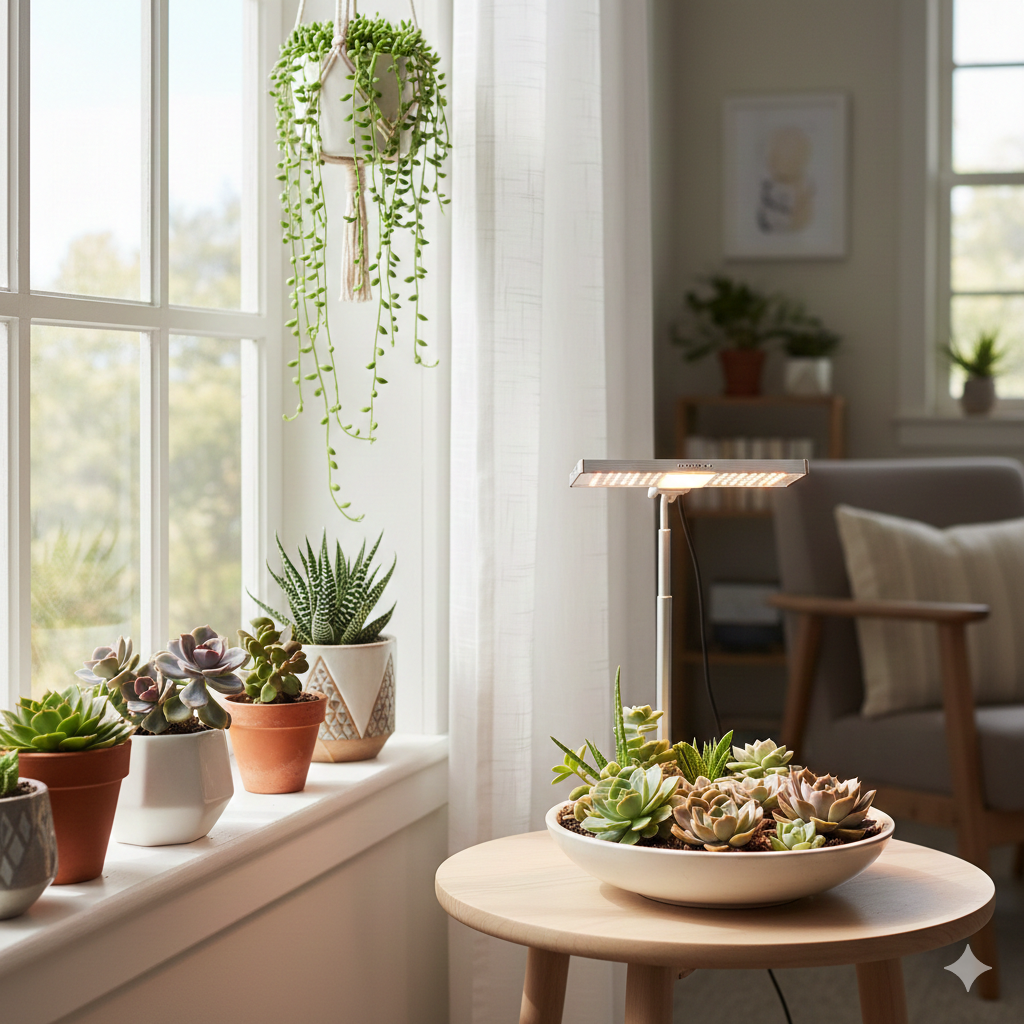
Give your plant at least a week to recover before watering again. This allows trimmed or damaged roots to callus over and lowers the risk of infection. While it recovers, place the succulent in bright, indirect light and avoid direct sun.
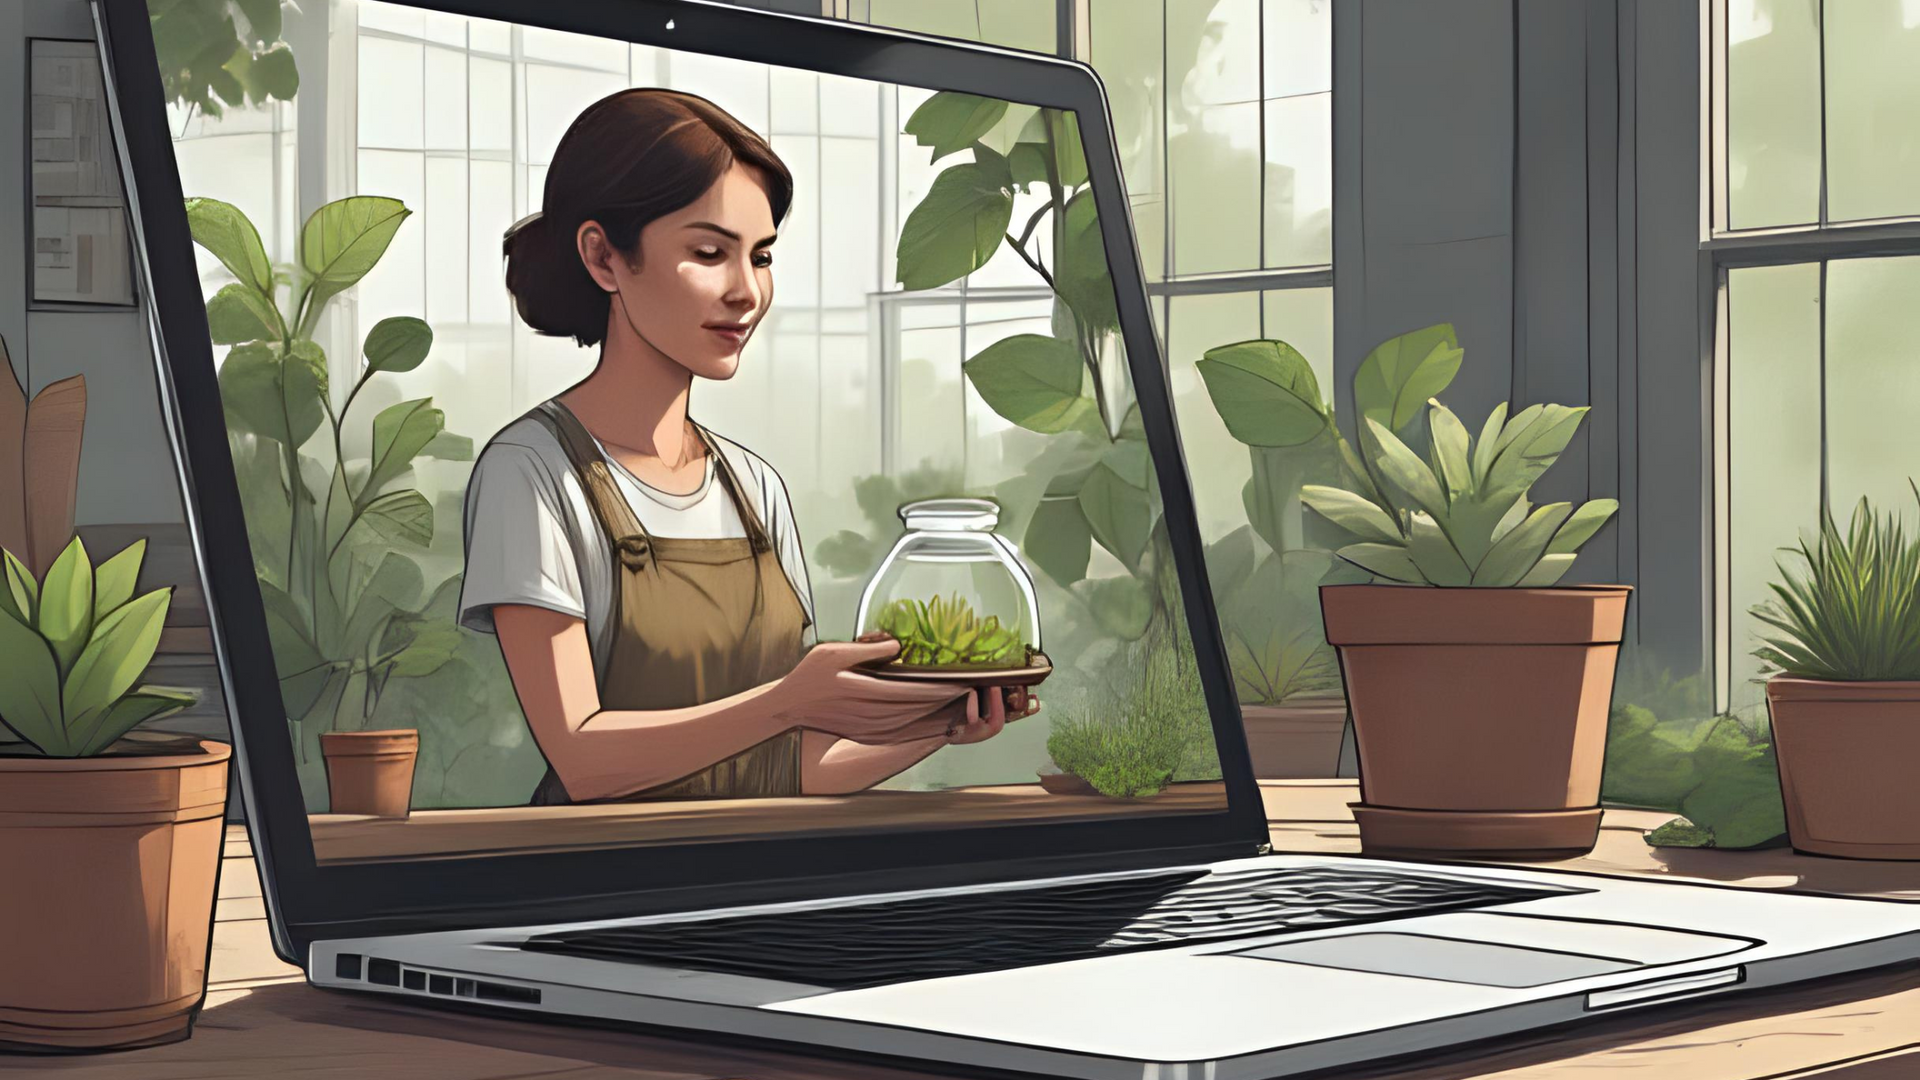
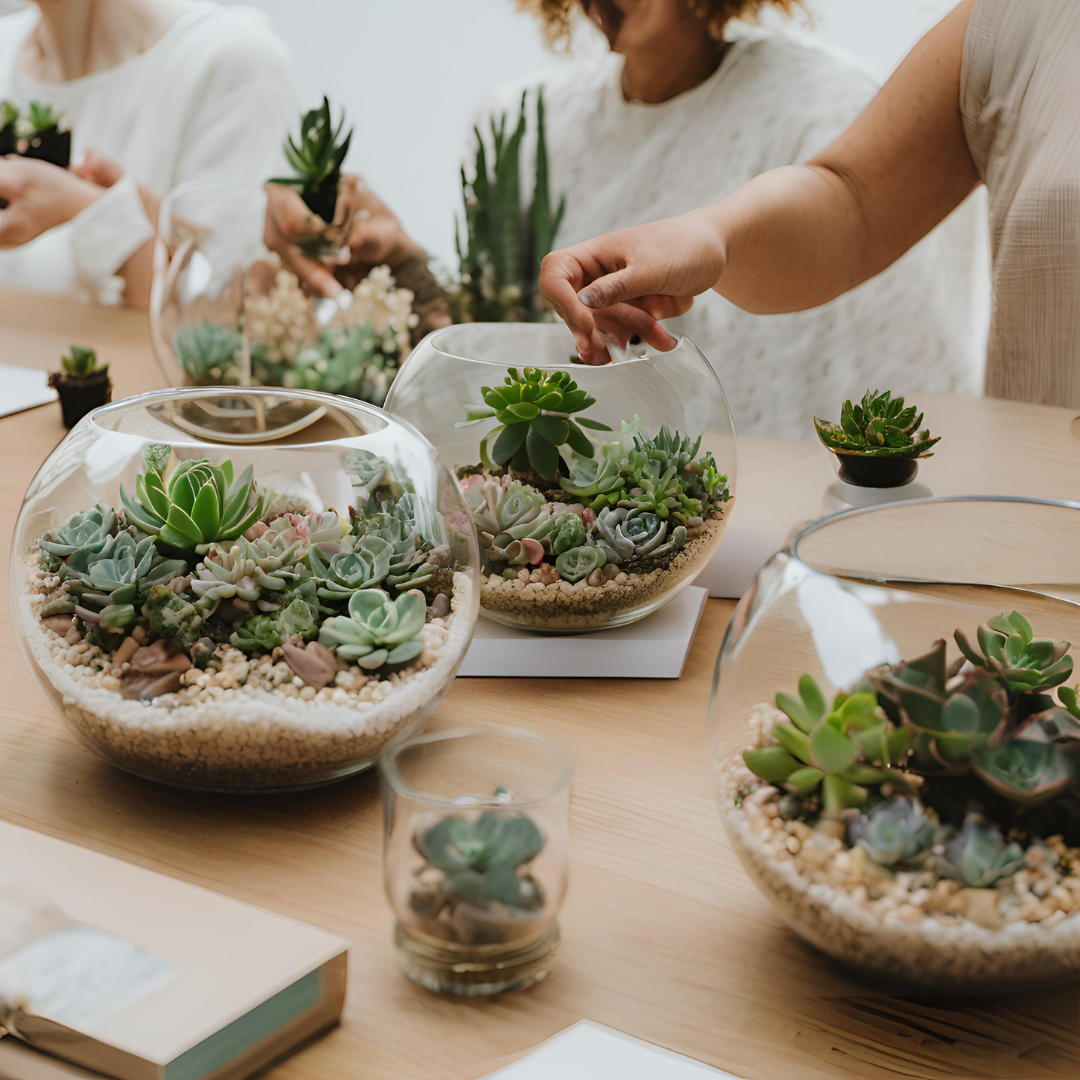
Take the Next Step with Plant & Sip Workshops
Repotting is one of the best things you can do to keep succulents healthy over the long term, especially once you learn the signs, like roots escaping through drainage holes or soil that has become compacted and depleted. If you want extra guidance and hands-on practice,
Plant & Sip offers
workshops where they walk participants through choosing the right pots and soil, handling roots safely, and repotting with confidence. At Plant & Sip, their instructors share practical, beginner-friendly tips so you leave with healthier succulents and a routine you can actually stick with.
Plant & Sip Latest News